
I am currently working on a Mule 4.3 project for a client together with a co-worker of mine in Anypoint Studio 7.7. When I wanted to import his work into my new and clean environment, I went through the usual steps – Go to ‘File’ at the top, and select ‘Import’.
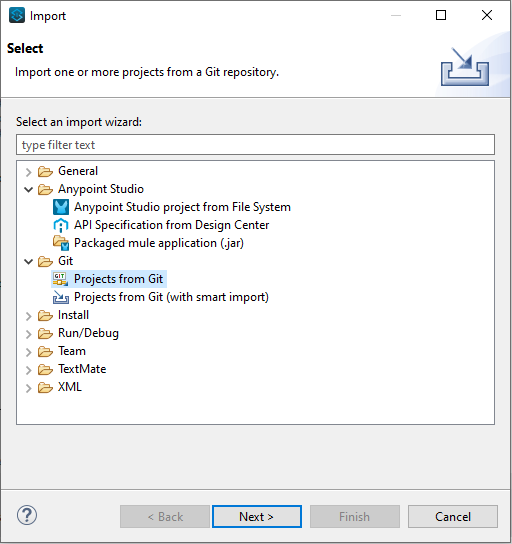
Then, in the Import window, select ‘Git’ > ‘Projects from Git’.
Clicking ‘Next’ allows you to select from ‘Existing local repository’ or to ‘Clone URI’. Since we use Gitlab, I clicked the option to clone the URI and filled in the information and authentication, then kept tag and branch selection as default and clicked ‘next‘ again.
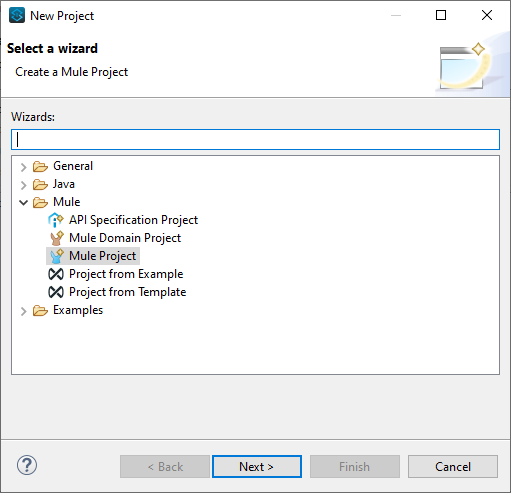
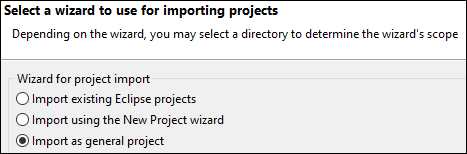
When you’re done with that you’re presented with the Wizard for project import. If you keep the default ‘Import using New Project wizard‘, it will open the wizard and let you choose what kind of project you want. Since we are working on a Mule 4 Project, I’ll select ‘Mule Project’ and click ‘Next’.
Decide on a name and select your runtime. Also make sure you set the Project location to your preferred directory.
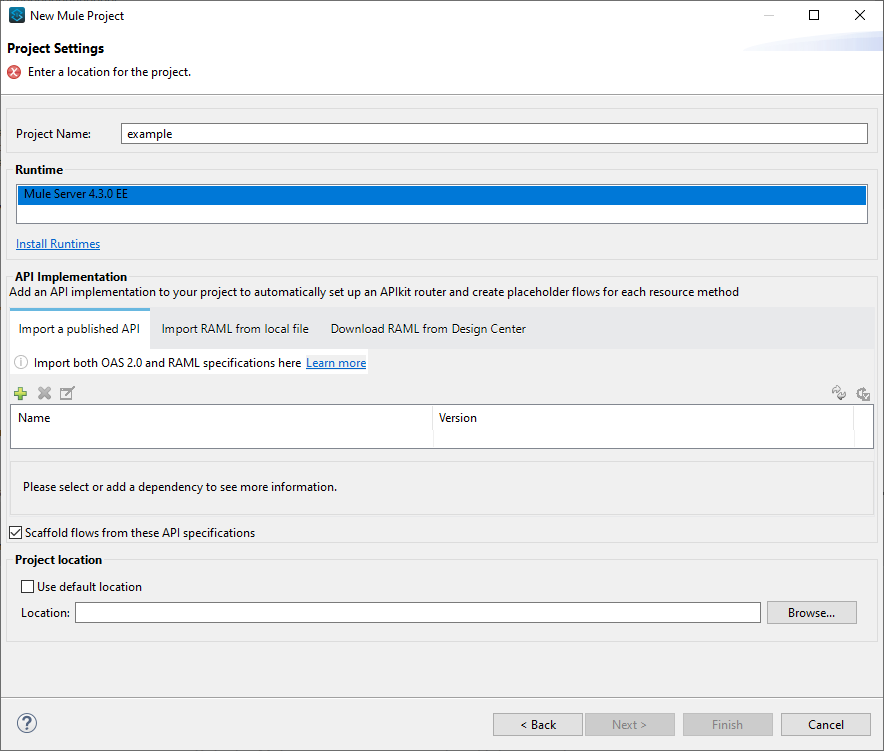
There are two issues here depending on what you do now, if you click ‘Next’ the Wizard will turn your Mule project into a Java project. If you click ‘Finish’, you will get the following error.
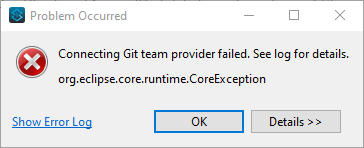
This is the first issue I ran in to – but as there was a second one I’ll address them separately.
Anypoint Studio fails to ‘Import using New Project wizard‘ and gives a ‘Connecting Git team provider failed‘ error
The first solution here is to use ‘Import as general project’ instead of ‘Import using the New Project wizard’. That would at least stop giving you the Git error.
What you can also do is go to the ‘Git perspective’ which can be found at ‘Window’ > ‘Perspective’ > ‘Open Perspective’, and import it from there as Anypoint Studio did manage to pull the project from the Git location – but then your entire project will look like it contains empty packages instead of regular source folders.
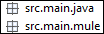
Which brings me to the second issue.
Anypoint Studio sees Mule projects as Java projects when importing from Git
To solve this problem, we need to open up the .project file that is inside our project, and add a <buildCommand> as well as a <nature> node for Mule.
Below you can find a generic .project.xml snippet where you just need to change the name of the project.
<?xml version="1.0" encoding="UTF-8"?>
<projectDescription>
	<name>PROJECT NAME</name>
	<comment></comment>
	<projects>
	</projects>
	<buildSpec>
		<buildCommand>
			<name>org.eclipse.jdt.core.javabuilder</name>
			<arguments>
			</arguments>
		</buildCommand>
		<buildCommand>
			<name>org.mule.tooling.core.muleStudioBuilder</name>
			<arguments>
			</arguments>
		</buildCommand>
	</buildSpec>
	<natures>
		<nature>org.mule.tooling.core.muleStudioNature</nature>
		<nature>org.eclipse.jdt.core.javanature</nature>
	</natures>
</projectDescription>
If you now save your project, commit, delete your project and then re-import from your local Git repository, it should look like a normal project again.
Solution to both issues
There is a simple solution that would solve both these issues right from the start, but it takes a little bit of setup and it’s not as obvious as you would initially expect.
Since the ‘Import’ option exists, and it offers importing from Git, logically that would be the correct approach to go with right? So far so good, importing- by itself – does not cause any problems. The issues appear when you start to turn it into a workable project.
Simply put – once you have imported the project into your local Git repository (by using Anypoint Studio or Sourcetree or whatever you want), instead of using the ‘Import using the New Project wizard’, go back to ‘File’ and click ‘Open Project from File System’ and then select your local directory. When you finish this process your project should now appear without any issue as a normal Mule project.